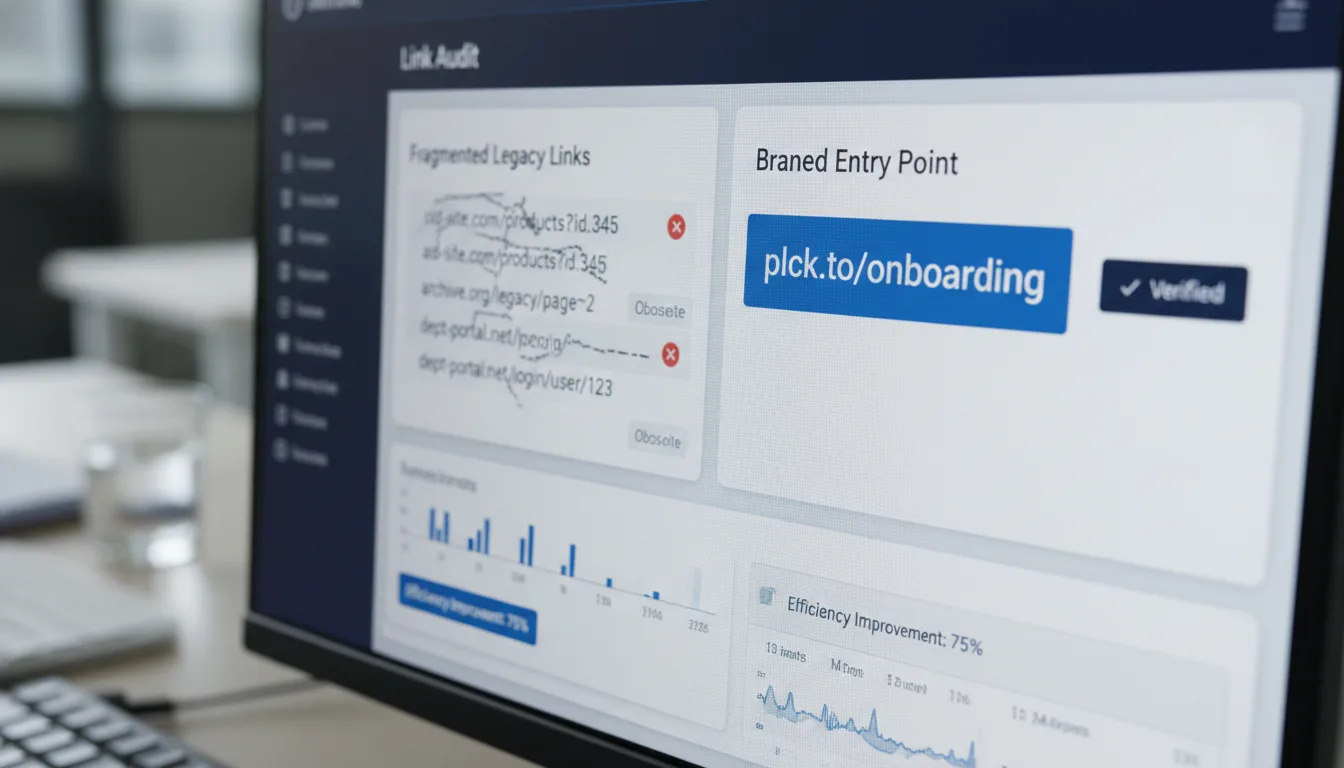
Upgrade to Planck: The Definitive Migration Checklist

Ready to get started?
Join thousands of users who are already using our platform to manage their links efficiently.
Create Your Free AccountThe Strategic Importance of a Seamless Link Migration
Ever thought about what happens behind the scenes when someone clicks one of your brand's links? It's more than just a quick redirect, isn't it? For enterprises, your URL shortening and link management infrastructure isn't just some tech-stack component; it's a living, breathing artery of your digital presence. Seriously, every single shortened link is carrying precious customer traffic, vital marketing data, and those all-important conversion opportunities. So, what happens if that artery gets, well, clogged or ruptured during a migration? Broken redirects, lost historical click data, and a truly severe disruption in revenue and customer experience. Yikes! That's why, for any modern organization worth its salt, approaching this process with an authoritative, data-driven methodology isn't just recommended—it's absolutely non-negotiable.
Now, if you're thinking about transitioning your enterprise's link infrastructure to a robust platform like Planck.to, you're probably picturing a smooth, seamless shift, right? Good, because with a meticulously structured approach, that's exactly what you'll get: zero downtime and total data fidelity. That's where this definitive migration checklist comes in. It's designed to give digital marketing teams and IT professionals the rigorous framework they need to execute a truly flawless platform transition. By breaking down the process—systematically addressing scoping, technical preparation, data transformation, and validation—we'll ensure your entire link ecosystem stays robust, reliable, and fully operational every step of the way.
"A digital link is a brand's promise to a user. Breaking that link through improper migration breaks trust, corrupts marketing attribution, and causes immediate financial impact."
Goal and Scope: Defining Your Migration Objectives
Okay, let's be real: diving headfirst into data manipulation or tweaking DNS settings without a solid plan is like building a house without blueprints. It's a recipe for disaster! Before you touch anything, you absolutely must strictly define the parameters of your migration. Trust us, operating without a comprehensively mapped scope is, hands down, the number one reason data gets lost or corrupted during infrastructure changes. You don't want to be that team, do you?
Assessing Your Current Link Ecosystem
Think of this as your digital inventory check. Before moving house, you wouldn't just throw everything into boxes, would you? You'd take stock. So, start by quantifying your existing digital footprint. This means identifying exactly how many short links are chilling in your legacy system. Are they active and buzzing, or are they dormant and collecting digital dust? Map out all those custom domains you're currently using. Then, consider your historical click data: how much do you have? Do you need to keep all of it, or does a specific cutoff date (say, the last 24 months) make more sense for your analytical needs? Being clear here will save you headaches later.
Classify your inventory into three distinct tiers: Mission-critical infrastructure links (e.g., app routing, API endpoints), active marketing campaigns, and legacy evergreen content. Prioritize the transition testing of your mission-critical tier above all else.
Setting Benchmarks for Success
How will you know your migration was truly a home run? You can't just cross your fingers! A successful migration must be measured against objective benchmarks. We're talking about establishing crystal-clear Key Performance Indicators (KPIs) for this transition. For example, aim for zero minutes of unresolved Link Rot – that nightmare scenario where active links suddenly hit a 404 wall. You'll also want 100% preservation of all those vital UTM parameters (because your marketing team needs that data!), and ideally, sub-millisecond redirect latency on your new platform. These aren't just nice-to-haves; they're non-negotiable success metrics.
Establishing a Migration Timeline
No successful project ever happened without a solid timeline, and a link migration is no different. You need to draft a strict, chronological timeline, and here's why: enterprise migrations aren't standalone events; they require careful orchestration around your busy marketing calendars. When should you schedule the big 'switch'? Aim for periods of historically low web traffic for your organization—think quiet weekends or late evenings. This helps mitigate the risk of user disruption during that inevitable (and sometimes nerve-wracking!) DNS propagation window. Planning ahead means less stress and happier users.
The Definitive Migration Checklist
Alright, now for the nitty-gritty: the definitive checklist itself. To execute this transition flawlessly, you'll want to adhere strictly to these phased steps. This isn't just a suggestion; it's a structure designed to ensure absolutely no critical infrastructure component gets overlooked. Ready? Let's dive in.
Phase 1: Pre-Migration Audit and Preparation
Think of data hygiene as the foundation of your new link house. You wouldn't build on a shaky base, would you? Exporting raw, uncleaned, or messy data from your legacy provider is like trying to move dirty laundry into a brand-new closet—you're just duplicating architectural flaws in your pristine new environment. Let's make sure it's spick and span from the start.
- Audit all active custom domains and ensure you have administrative access to their respective DNS registrars.
- Export a comprehensive CSV of all existing short links, destination URLs, creation dates, and tags from your legacy provider.
- Perform a deduplication sweep to eliminate redundant links pointing to identical destination URLs with identical UTM parameters.
- Standardize your tag taxonomy. Ensure that campaign tags, team identifiers, and channel markers follow a consistent naming convention before importing.
Lower the Time To Live (TTL) settings on your custom domains' DNS records to 300 seconds (5 minutes) at least 48 hours before the migration. This drastically reduces propagation delays during the final cutover.
Phase 2: Domain Setup and Configuration
Your domains aren't just technical addresses; they're the trusted, branded faces of your links out in the digital wild. Proper configuration here isn't just about making things work; it's about securing your brand identity and guaranteeing that seamless, reliable routing your users expect.
- Register and verify your custom branded domains within the new platform dashboard.
- Configure fallback URLs to ensure that users navigating to the root of your short domain are automatically redirected to your primary corporate homepage.
- Verify SSL certificate provisioning. Secure HTTPS routing is mandatory; ensure the new platform has successfully generated SSL certificates for your custom domains before migrating traffic.
Phase 3: Data Export and Transformation
Here's where the rubber meets the road: the structural formatting of your link database has to perfectly match the requirements of your new provider. We can't stress this enough. The import functionality within Planck.to, for instance, requires incredibly precise mapping. Why? Because that's how we ensure high-fidelity data transfer—no broken links, no lost information, just clean, accurate migration.
- Format your master CSV. Map the source columns (Short URL, Destination URL, Title, Tags) strictly to the target platform's import template.
- Validate the encoding. Ensure your file is saved as UTF-8 to prevent the corruption of special characters in destination URLs or link titles.
- Run a pilot import. Select a batch of 50 low-risk, legacy links and import them to verify data alignment and system response.
When the pilot import results in perfect routing and accurate tag preservation, you have established a validated schema for your bulk migration.
Phase 4: Bulk Import and Cutover
This is it—the moment of truth! This is the execution phase, where all your careful planning comes to fruition. Precision timing and absolutely coordinated team communication aren't just helpful here; they are essential to pulling off a seamless cutover.
- Execute the bulk data import of your full CSV file.
- Review the post-import error log. Immediately investigate and resolve any links flagged as malformed or skipped.
- Update your DNS records. Point your custom domain's A Records or CNAMEs to the new platform's designated IP addresses.
- Lock the legacy system to prevent team members from inadvertently creating new links in the deprecated environment.
Common Pitfalls and How to Avoid Them
Even the most seasoned IT pros and marketing gurus can stumble during a link infrastructure migration. It's just the nature of the beast! But here's the good news: simply being aware of these common pitfalls is your absolute strongest defense against costly downtime and headaches. Forewarned is forearmed, right?
Ignoring UTM Parameters During Transfer
This is a big one, and it's a shockingly frequent oversight: exporting destination URLs that have been accidentally stripped of their crucial query strings. We're talking about your UTM parameters (utm_source, utm_medium, you know the drill). These aren't just technical details; they are the backbone of your marketing attribution! If they get lost during that CSV transformation, your analytics team will face a truly catastrophic loss of campaign visibility. Imagine flying blind! So, always, always, always conduct a visual audit of the Destination URL column to ensure those query parameters are completely intact before you even *think* about initiating the import.
Modern link management platforms evaluate the entire destination string. A truncated URL will technically redirect, but it will fundamentally break your down-funnel tracking in Google Analytics or Adobe Analytics.
Overlooking Subdomain DNS Propagation Times
Here's a fun fact about the internet: DNS changes aren't instantaneous across the globe. It's not like flipping a switch! If you don't lower your TTL (Time To Live) settings well in advance, you'll end up with a messy 'split brain' scenario where some users are still routed to the old platform while others hit your shiny new infrastructure. Even worse, if you terminate your previous provider's account too hastily, those users experiencing delayed propagation will hit infuriating, unresolved server errors. The takeaway? Always maintain that legacy account in a read-only state for at least 72 hours *after* the cutover. Patience is key here.
Failing to Map Historical Analytics
Of course, your primary goal during migration is making sure links successfully redirect—that's a given. But here's something organizations often overlook: historical click data isn't just old news; it's invaluable intelligence that informs your *future* strategy. If your migration scope demands historical continuity, you absolutely *must* ensure you've securely archived all that historical click data from your legacy provider before you even think about closing that account. Remember, once the DNS is pointed away, access to those legacy reporting interfaces is very, very often revoked. Don't lose your past insights!
Quick Verification Steps Post-Migration
You've done the hard work, but you're not done yet! Verification must be swift, thorough, and yes, even a little bit exhaustive. Relying on passive observation—just 'hoping for the best'—is simply inadequate. You need to actively stress-test this new routing environment to truly confirm everything's working as it should.
The 24-Hour Sanity Check
Okay, the DNS cutover is done. What's next? The 24-Hour Sanity Check! Immediately after the switch, don't just sit back. Deploy automated HTTP status checkers or, even better, utilize manual testing arrays. You'll want to sample links across various browsers, different geographical regions (use a VPN!), and, of course, mobile devices. Your mission? Confirm a consistent 301 or 307 redirect status code across the board. No surprises, please!
Create a dedicated testing document containing links to your top 20 highest-traffic destinations. Manually click each one immediately after the DNS switch to visually verify the routing path and the correct loading of the destination asset.
Validating Deep Links and Redirect Paths
Now, let's put the new system to the test. The proof is in the pudding, right? Create a brand new link on the platform to verify its real-time generation and routing capabilities. For example, whip up a test link like planck.to/migration-test and point it to a known, active webpage. Click that shiny new link and, here's a pro tip, inspect the network tab in your browser's developer tools. Why? To guarantee there are absolutely no unnecessary redirect chains or pesky latency spikes. Clean and fast is the goal!
Team Access and Role Verification
Let's be honest, infrastructure, no matter how robust, is only as effective as the team operating it. So, post-migration, a crucial step is to verify that all your marketing personnel, social media managers, and developers have proper Single Sign-On (SSO) access to Planck.to. But don't stop there! Double-check that all Role-Based Access Control (RBAC) permissions have been correctly applied. You want to ensure users only have edit rights to the domains and link groups that are pertinent to their specific departments. No accidental deletions, no unauthorized changes—just smooth, secure operations for everyone.
When external routing resolves flawlessly and internal teams can seamlessly generate new tracking assets like planck.to/q4-campaign without encountering permission errors, the migration is officially successful.
Conclusion: Securing Your Link Infrastructure for the Long Haul
So, what's the real payoff for all this careful planning and execution? A truly successful migration does more than just move links; it elevates your link management from a tactical afterthought to a genuine, strategic enterprise asset. By strictly adhering to this definitive checklist—by defining crystal-clear scopes, executing meticulous data preparation, and conducting rigorous post-migration verification—you're not just moving data. You're safeguarding your brand's digital pathways and ensuring impeccable marketing attribution accuracy for years to come.
Ultimately, operating authoritative digital infrastructure demands precision, no shortcuts allowed. But here's the best part: taking the time to execute this migration cleanly isn't just about avoiding problems; it actively ensures that your organization remains agile, your marketing campaigns stay fully trackable, and your audience enjoys uninterrupted, secure routing with every single click. Commit to these technical standards, and you won't just have a link management system; you'll have an ecosystem that provides unshakeable reliability for years to come. That's a promise worth keeping.
Ready to get started?
Join thousands of users who are already using our platform to manage their links efficiently.
Create Your Free Account