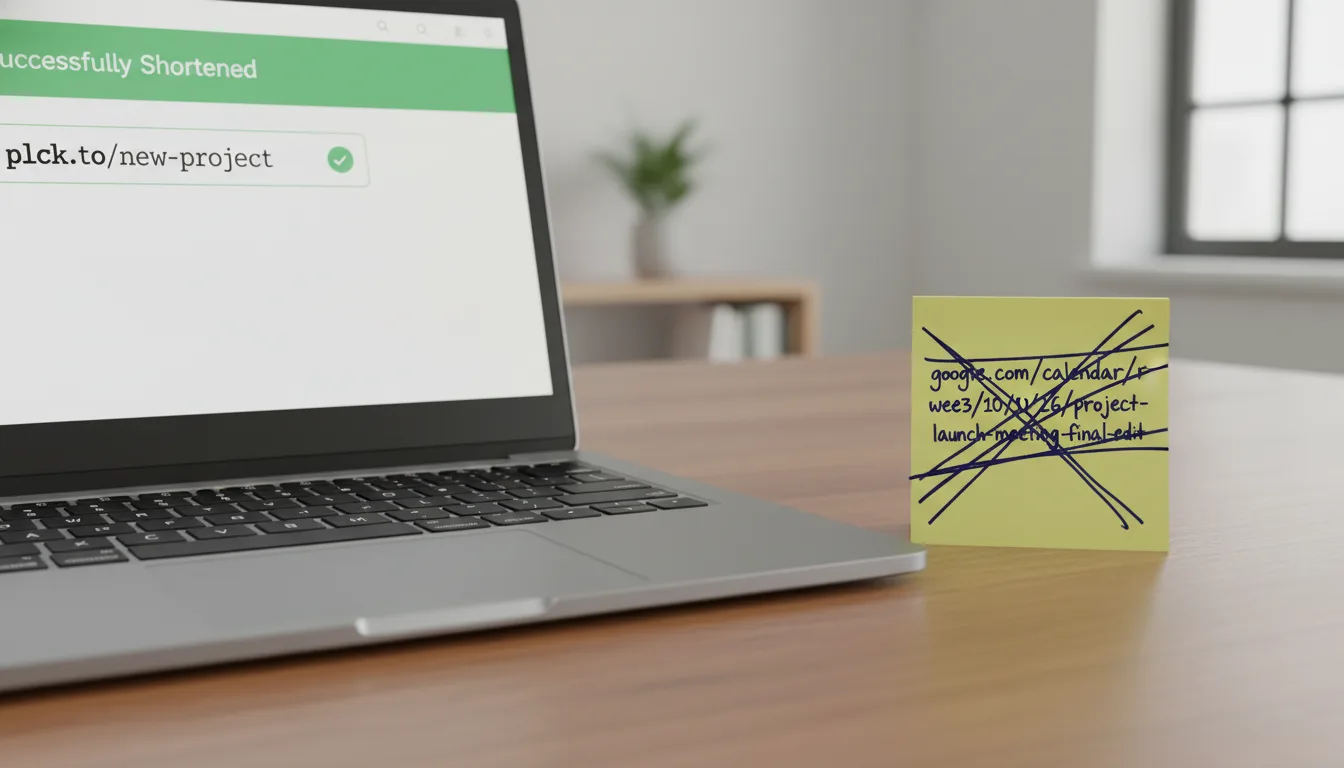
Custom Domain Traps: Troubleshooting Your First Planck Setup
Ready to get started?
Join thousands of users who are already using our platform to manage their links efficiently.
Create Your Free AccountCustom Domain Traps: Troubleshooting Your First Planck Setup
Let's be honest for a moment: there's just something incredibly satisfying about setting up your very first custom branded link, isn't there? It's like a mini-graduation day for your digital marketing efforts! Moving away from those generic short links and seeing your own brand name proudly displayed right there in the URL—think link.mybrand.com/sale instead of some random string of characters—instantly elevates your game. It screams professionalism, builds immediate trust with your audience, and, let's face it, usually boosts those all-important click-through rates.
But here's the flip side, and we've all been there: **DNS records can feel absolutely terrifying** if you're not used to wrestling with them. You're staring at your domain registrar's dashboard, a sea of baffling acronyms like CNAME, A Records, TTL, and nameservers, all while a little voice in your head screams, "What if one wrong click takes my entire company website offline?!"
If you're currently sweating through your shirt because your shiny new custom domain setup isn't quite clicking, or if you're about to dive in and want to side-step all that potential headache, you've landed in just the right spot. We're going to take a deep breath together and walk through the most common traps beginners stumble into when connecting a custom domain for link shortening. Even better, we'll show you exactly how to fix them without breaking a sweat (or your website!).
A Custom Domain isn't just a vanity metric. It allows you to ditch a generic shortener domain (like planck.to) and replace it with your very own branded URL. Think of it as putting your company logo on every link you share. It makes your links look like they belong exclusively to *you*, even though the underlying technology is expertly handled by your chosen link management platform, such as Planck.to.
Trap #1: The "Root Domain" Takeover Temptation
Alright, this one is, without a doubt, the most common—and potentially most disruptive—mistake first-timers make. Imagine you own a fantastic domain, say awesome-bakery.com. Naturally, you want your short links to look just as awesome, so your immediate thought is to connect awesome-bakery.com directly to your link shortener. Sounds logical, right?
Why it Happens (The Illusion of Simplicity)
It absolutely *feels* logical! You own the name, so why wouldn't you want to use the main name? Here's the catch: in the intricate world of DNS (that's the Domain Name System, the internet's phone book), a primary domain can typically only point to one "place" at a time for its main website traffic. If your main website, your digital storefront, is hosted on popular platforms like Shopify, WordPress, Squarespace, or any other web host, those services are already using your root domain to direct visitors to your site. They've essentially claimed that prime real estate.
The Scary Result
If you go ahead and change the crucial DNS records of your root domain (like awesome-bakery.com) to point to a link shortening service, you'll almost certainly crash your main website. Instantly! Suddenly, anyone typing your beloved bakery's website address won't see your delicious home page; instead, they might hit a dreaded 404 error or, even worse, a generic page from your link shortener. Talk about a bad customer experience!
What to Do Instead: Embrace the Power of the Subdomain
The elegant and safe solution here is to use a subdomain. Think of a subdomain as a special, distinct entrance added to your main domain, rather than changing the main entrance itself. It's simply a prefix you add before your primary domain name. You've probably seen them everywhere:
link.awesome-bakery.com(classic and clear!)go.awesome-bakery.com(short, sweet, and action-oriented)click.awesome-bakery.com(another clear indicator)shop.awesome-bakery.com(perfect if you have a dedicated shopping section)
By choosing and properly configuring a subdomain, your main website remains safe and sound, happily serving your customers, while your new branded links live blissfully on their specifically designated prefix. Everyone wins!
If you absolutely *insist* on a super short root domain for your links (like awsm.bk or my.brand), you'll need to purchase a completely separate domain name *just* for link shortening. This is a common strategy for big brands (think New York Times using nyti.ms). If you go this route and buy a new domain solely for this purpose, then yes, you can use that new domain as a root domain for your links without worrying about crashing your main website!
Trap #2: The "It’s Not Working Yet" Panic (DNS Propagation)
You did it! You followed all the instructions, meticulously added that CNAME record to your registrar, and then, with a hopeful click, you went back to your link management dashboard to verify the domain. And... nothing. An infuriating error message. "Domain not found."
Cue the immediate panic. Did you break it? Did you type it wrong? Is the internet secretly judging your technical skills?
Why it Happens (The Internet Needs a Minute)
This frustrating delay is caused by something called DNS Propagation. When you update a record in your domain registrar, that new piece of information doesn't instantly appear everywhere across the globe. It has to be copied, or "propagated," to countless DNS servers all over the world. It’s a bit like updating a massive, global phone book: just because you've jotted the new number into your personal contacts list doesn't mean the updated phone books in London, Tokyo, New York, and every tiny town in between have been updated yet.
What to Do Instead: The Unavoidable Waiting Game
Unfortunately, patience really is the only fix here. While many DNS changes are super speedy and happen within minutes, they can technically take anywhere from a few hours up to a full 24-48 hours to propagate globally. So, if you hit that verify button immediately after adding the record and it fails, don't despair! Wait a solid 15 minutes, then try again. If it's still not working, give it an hour. Grab a coffee, stretch, or plan your next marketing campaign—anything but staring at that error message!
Want to peek behind the curtain and see what's happening? You can use free online tools like "DNS Checker" or "What's My DNS" to see if your new records are becoming visible to the rest of the world. If you start seeing green checkmarks appearing on a global map, you'll know your setup is correct, and you just need to wait for your link management platform to catch up and see it too.
A successful setup often involves adding the DNS record, grabbing a well-deserved coffee (or tea!), and then coming back about 30 minutes later. If it works then, you've absolutely done it right. Consider that coffee break part of the setup process!
Trap #3: The Record Rumble (CNAME vs. A Record Confusion)
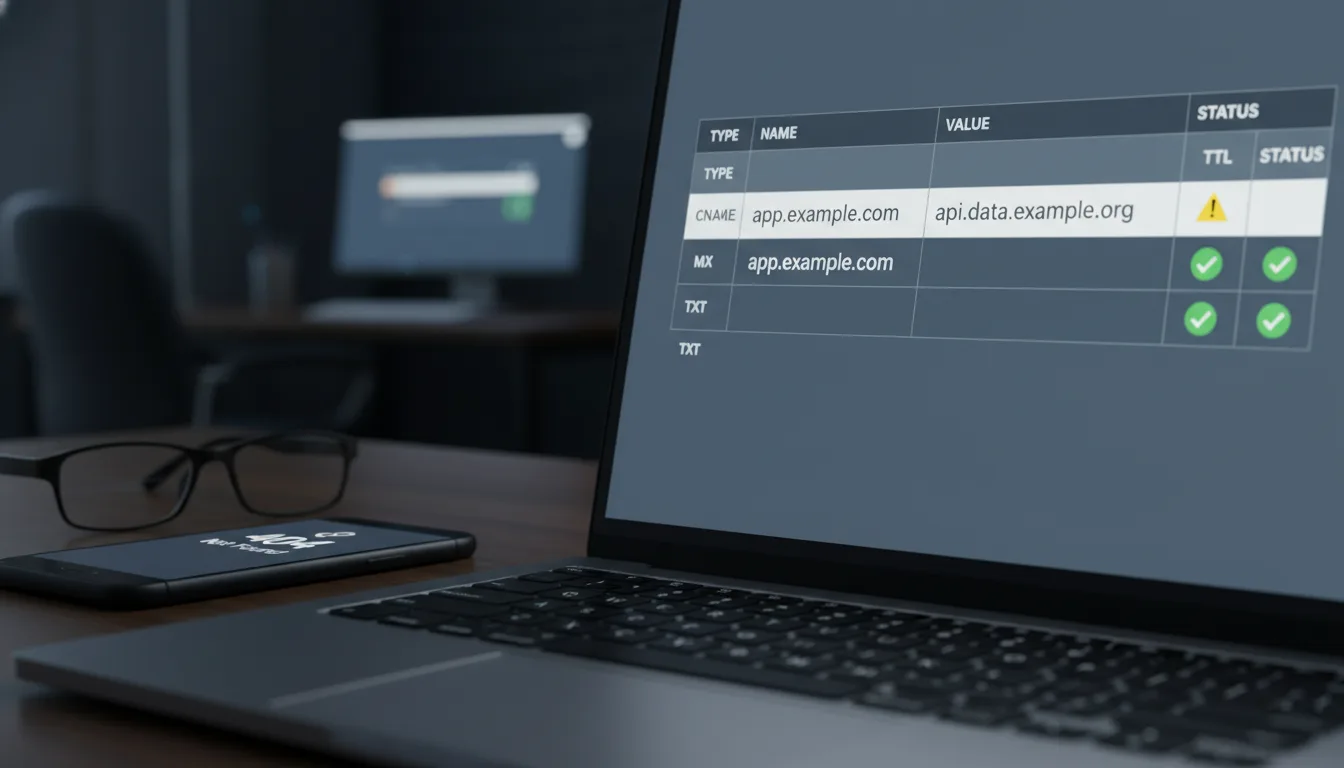
When you bravely venture into your domain registrar's DNS settings, you're usually met with a dropdown menu offering various record types. For our purposes, the two most common you'll see are A Records and CNAME Records. A very common mistake is either picking the wrong one entirely or, even trickier, trying to use both simultaneously for the exact same subdomain.
The Root of the Confusion
Technically, both A Records and CNAME Records can direct internet traffic, but they do it in fundamentally different ways, which is where the confusion often lies:
- A Record: This type of record points your domain (or subdomain) directly to a specific numerical IP address (e.g.,
192.0.2.1). It's like giving someone the exact street address to a building. - CNAME Record: This record, short for "Canonical Name," points your domain or subdomain to *another domain name* (e.g.,
cname.yourplatform.com). It's more like telling someone, "Go to the place *next door* to the big bank on Main Street." The CNAME handles finding the "big bank" for you.
Why it Goes Wrong (Too Many Cooks in the Kitchen)
Beginners often gravitate towards adding an A Record because, hey, an IP address looks concrete and simple, right? Or, they correctly add a CNAME but forget to delete an old, conflicting A Record that was already there. When you have two different records trying to direct traffic for the *same* subdomain, it causes a conflict. The internet literally doesn't know which instruction to follow, resulting in an error or your link simply not working.
What to Do Instead: Stick to the Game Plan
For almost all subdomain setups used for link shortening (like our link.yoursite.com example), a CNAME is the preferred and often required record type. Why? Because it offers much more flexibility. If your link management service ever needs to change their server IP addresses in the future (which happens!), your CNAME will automatically update because it's pointing to their *domain*, not a static, potentially outdated number. It's truly "set it and forget it."
When you're setting this up, say in a platform like Planck.to, you'll be provided with a specific target value to use for your CNAME record. Here's a crucial step: **always make sure you delete any existing A Records or other conflicting records for that *specific* subdomain before you add your new CNAME.** This cleans the slate and prevents any messy conflicts.
"Think of DNS records like giving someone driving directions. You can't tell the driver to go left and right at the exact same intersection. To ensure they get where they need to go, you need to clear any old, confusing directions before you hand them the new, correct ones."
Trap #4: The "Not Secure" Scare (SSL Certificates)
Okay, you've powered through the DNS settings. You've verified the domain. You've even created your first branded short link, and you click it... success! But then, your browser flashes that scary red warning: "This connection is not private." Ugh! Nothing, and we mean *nothing*, kills trust faster than a security warning popping up on a link you just confidently sent to a customer or shared on social media. It's a real confidence killer.
Why it Happens (The Digital Handshake Isn't Complete)
This warning appears because your SSL certificate (that's the magic little digital handshake that gives you the reassuring https:// and the secure lock icon in your browser) hasn't been fully generated or provisioned yet. Modern browsers are incredibly strict about security these days, and for good reason! They want to protect users from potential threats, and an un-secured connection is a big red flag.
What to Do Instead (More Waiting, But With a Purpose)
The good news is that most modern link management platforms handle SSL provisioning automatically for you. You don't usually need to buy or install a certificate yourself, which is a huge relief! However, "automatically" doesn't mean "instantaneously." While your domain connection might happen in minutes, the issuance and activation of that SSL certificate can take a little longer. Sometimes it's minutes, sometimes it's a few hours.
If that "Not Secure" error persists for more than 24 hours, it's time to investigate:
- Check for CAA Records: Double-check your DNS settings for any "CAA Record." These are special records that restrict which Certificate Authorities (CAs) can issue SSL certificates for your domain. Sometimes an existing CAA record might inadvertently block the automatic certificate generation process.
- Ensure Full DNS Propagation: Go back to the lessons from Trap #2! If your DNS records haven't fully propagated, the SSL provider won't be able to verify your domain, which is a necessary step to issue the certificate.
- Contact Support: If you've waited a full day and checked the above, don't hesitate to reach out to your link management platform's support team. They have the tools to dig deeper and see exactly what's holding up the SSL process.
Trap #5: The "Ghost Town" Root Redirect
You've created an awesome link: link.mybrand.com/summer-sale. It works like a charm! But here's the thing: curious customers are smart. Sometimes, they'll instinctively delete the /summer-sale part and just hit enter on link.mybrand.com to see what's lurking at the "base" of your custom domain. It's human nature, really!
The Mistake (Leaving a Digital Dead End)
If you haven't taken the proactive step of configuring a "Root Redirect" or a "404 Redirect" for your custom domain, that curious customer is going to land on a generic error page, a blank screen, or something equally unhelpful. This not only looks broken but screams unprofessionalism. You've essentially created a digital ghost town where there should be a bustling street.
The Simple Fix (Guiding Your Curious Visitors)
This is an easy one to solve and a crucial step for a polished brand experience! Always, always set a destination for the "base" of your custom domain. In your link management platform's dashboard, actively look for settings labeled "Root Redirect," "Default URL," or "404 Page."
A best practice is to redirect the base of your custom domain straight back to your main website's homepage. So, if someone types link.mybrand.com, they're instantly (and seamlessly!) bounced over to mybrand.com. This simple step catches any lost traffic, maintains a consistent brand experience, and ensures that even accidental navigation leads users to helpful content rather than a frustrating dead end.
Your Essential Custom Domain Troubleshooting Checklist
Feeling ready to give it another shot? We know you are! Use this quick, actionable checklist to ensure your custom domain setup goes as smoothly as possible. Think of it as your secret weapon against DNS headaches!
- Choose a Smart Subdomain: Unless you've invested in a completely separate domain name just for links, always opt for a subdomain like
go,link, orclicks. It keeps your main website safe! - Clean House First: Head into your domain registrar's DNS records and confirm that absolutely no *other* records (especially A Records) exist for that specific subdomain you want to use. Delete any conflicting entries!
- Add the CNAME Correctly: Carefully enter the host (your chosen subdomain, e.g.,
link) and the value (e.g., the target provided by your link management platform, likecname.planck.to). Double-check for typos! - Practice Patience (Seriously): Give it at least 30 minutes, if not an hour, before you start stressing out about it not working. DNS propagation needs its time.
- Verify with Confidence: Only *after* waiting, click that verify button in your dashboard. You'll likely see success!
- Set the Root Redirect: Don't forget this crucial step! Configure where visitors should go if they land on the bare custom domain (
link.mybrand.com) without a specific link path. Your main website's homepage is usually the best bet.
Conclusion: Unlock Your Branded Link Potential!
Let's be real: setting up a custom domain *feels* technical because, well, it *is* technical. But here's the best part: it's truly a "set it and forget it" kind of task. Once you've successfully navigated these initial traps, you'll rarely, if ever, have to touch these settings again. And the payoff? You unlock all the fantastic benefits of branded links—higher trust, better brand visibility, unparalleled consistency across all your digital channels—all without any ongoing effort once it's done.
Remember, good link management tools are designed to make this process as smooth as humanly possible, but they can't magically control the quirks of the global DNS system. That's why your best friends throughout this process are patience and meticulous attention to detail (especially when it comes to those record types!). So, take another deep breath, give that CNAME one last double-check, and get ready to confidently share your new, professional, and beautifully branded links with the entire world!
Ready to get started?
Join thousands of users who are already using our platform to manage their links efficiently.
Create Your Free Account